Advanced Slicer Wizard
The slicer must be configured in the New Slicer wizard, after which it is added to the presentation slide.
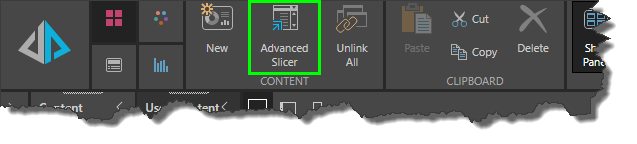
To add a new slicer to the presentation, go to the Home ribbon and select the New Slicer button (red highlight below). A new slicer can also be added from the Interaction Manager.
Add an Advanced Slicer
Step 1. Choose Model
Start by selecting the required data model from the Choose model panel. In the dialog select the required data model from the Choose Model panel.
Step 2. Select Hierarchy
Go to the Select Hierarchy panel; open the required dimension, and select the hierarchy that should be used as a slicer.
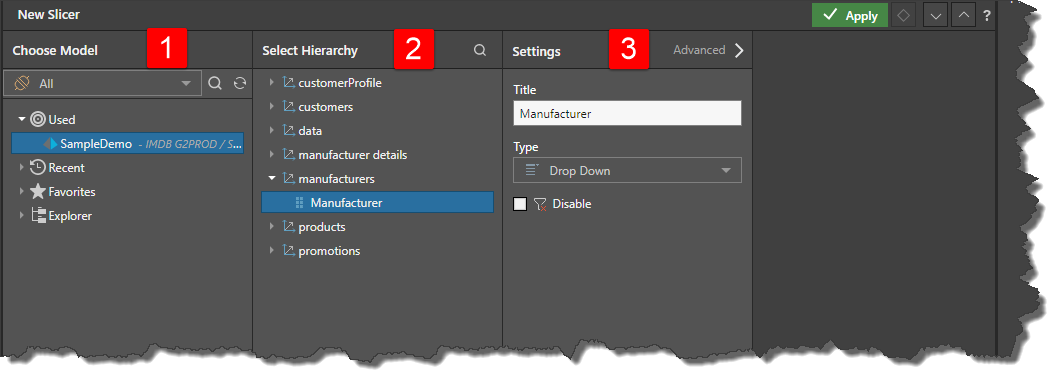
Step 3. Settings
Name the slicer, select the default slicer type from the, and determine whether the slicer should be enabled or disabled by default. Then either click Apply, or click the Advanced button to open the advanced slicer settings panels (green highlight above).
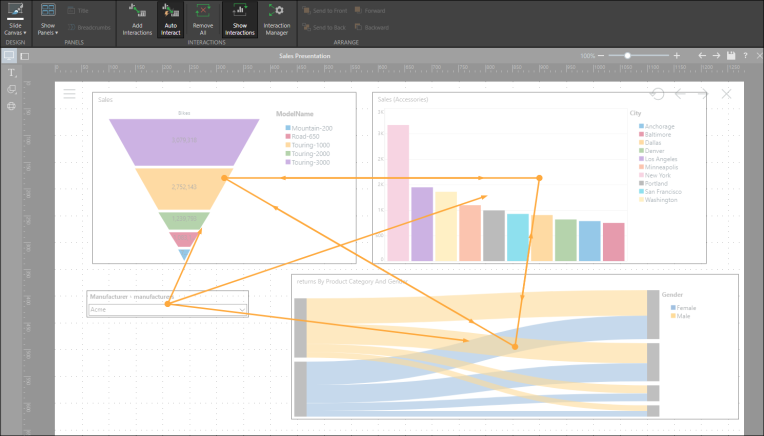
Step 4. Add Interactions
From the Home or Slide ribbon, select Add Interactions or Auto Interact to add interactions between the slicer and the visuals. To add the slicer to multiple slide, you can simply copy and paste it.
STEP 5. Test the Slicer
Preview your slicer by clicking  in the top right corner.
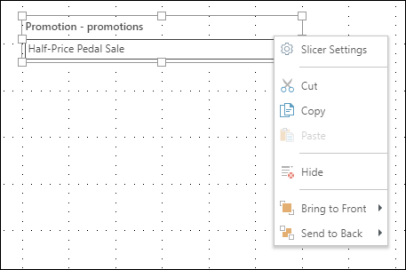
STEP 6. Edit the Slicer
To edit your slicer, right click on it and select Slicer Settings. From the dialog, you can edit both simple and advanced options. Click here to learn more about editing slicers.